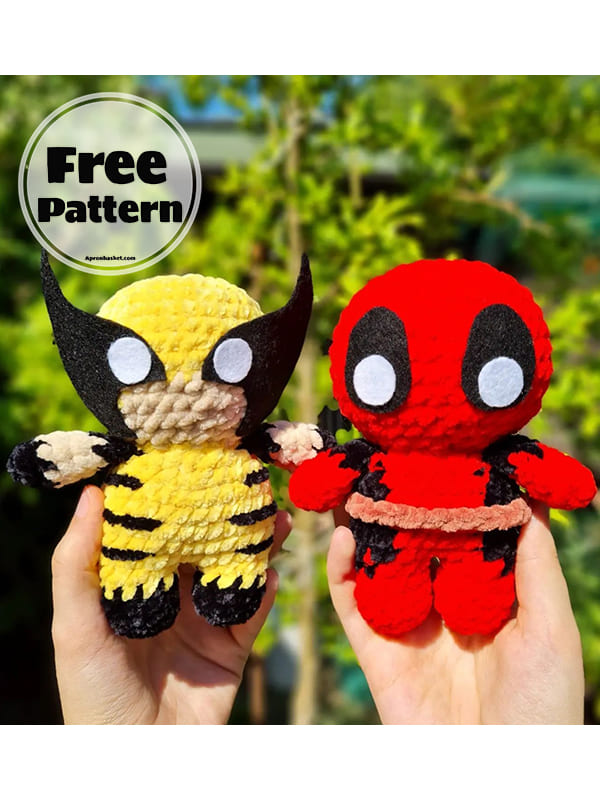
Here, as I said, is the crochet wolverine amigurumi doll pattern. You can complete the characters by making both the crochet deadpool and crochet wolverine duo. You can make a great Christmas gift for Wolverine fans and children who love this character. The easy and beginner level crochet wolverine doll that you can easily follow step by step is now with you below. I wish you a nice week. Don’t forget to follow me for more.
Designer: eliyarnart
Crochet wolverine
Abbreviations:
MR: Magic ring
St: Stitch
R: Round
Sc: Single crochet
Dc: Double crochet
Slst: Slip stitch
FO: Fasten off
Inc: Increase
Dec: Decrease
CC: Change color
FLO: Front loop only
BLO: Back loop only
Materials and tools:
Crochet hook size: 5mm
Black chenille size 4 medium
Yellow chenille size 4 medium
Skin color chenille size 4 medium
White felt
Black felt
Stuffing
Tapestry needle
Scissors
Fabric glue
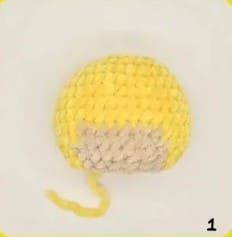
Head
Starting with yellow yarn.
R1: 8sc in a mr (8)
R2: 8inc (16)
R3: (sc, inc)x8 (24)
R4: (3sc, inc)X6 (30)
R5: (2sc, inc, 2sc)x6 (36)
R6-9: 36sc (36) – 4 rounds
R10: 14sc, cc to skin color 8sc, ce to yellow 14sc (36)
R11: (4sc.dec)x2 sc, cc to skin color 3sc, dec, 4sc, dec, cc to yellow (4sc, dec)x2 (30)
R12: (3sc, dec)x2, sc, cc to skin color 2sc, dec, 3sc, dec, cc to yellow (3sc,dec)x2 (24)
R13: 3sc, dec, 4sc, cc to skin color dec, 4sc, dec, cc to yellow 4sc, dec, sc (20)
Cut yarn, FO with invisibile join.
Add fiber fill (stuff a lot).
Body
Start with black yarn.
R1: 5sc in a mr(5)
R2: Sinc (10)
R3: BLO 10sc (10)
R4: 10sc (10)
R5: cc to yellow 10sc (10)
Cut yarn and FO with an invisibile join.
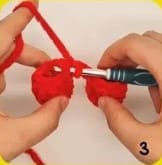
Make another leg but this time don’t Cut yarn and ch2 (pic 2).
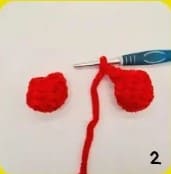
R6: Insert the hook in any of the first leg sts (pic 2) and make 10sc, 2sc in the 2ch, 10sc, 2sc in the 2ch (24) (pic 3)
R7: 2sc, inc, (5sc, inc)x3, 3sc (28)
R8-11: 28sc (28) 4 rounds
R12: (5sc, dec)x4 (24)
Start stuffing as you go, when you stuff the feet remember to keep them flat.
R13: (4sc, dec)x4 (20)
Finish stuffing.
Cut yarn leaving a long tail for sewing (pic 4).

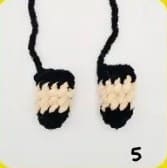
Arms (make 2)
Start using black yarn.
R1: 4sc in a mr (4)
R2: 4inc (8)
R3: cc to skin color BLO 8sc (8)
R4-5: 8sc (8) 2 rounds
R6: cc to black fold the arm and close it making 4sc (4)-don’t stuff the arm.
Cut yarn leaving a long tail (pic 5).
Sewing
• Sew the head to the body, add fiber fill while sewing if needed
• Sew the arms to the body at R12-13
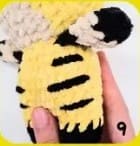
• Sew the stripes between R7-8, 9-10, 11-12 (pic 9)
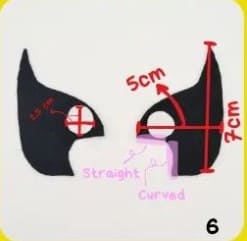
• Cut black and white felt using pic 6 as reference and glue them on the head: glue just the parts marked in pic 8, on R10-13, 2 visibile sts apart.


admin
Recommended To You