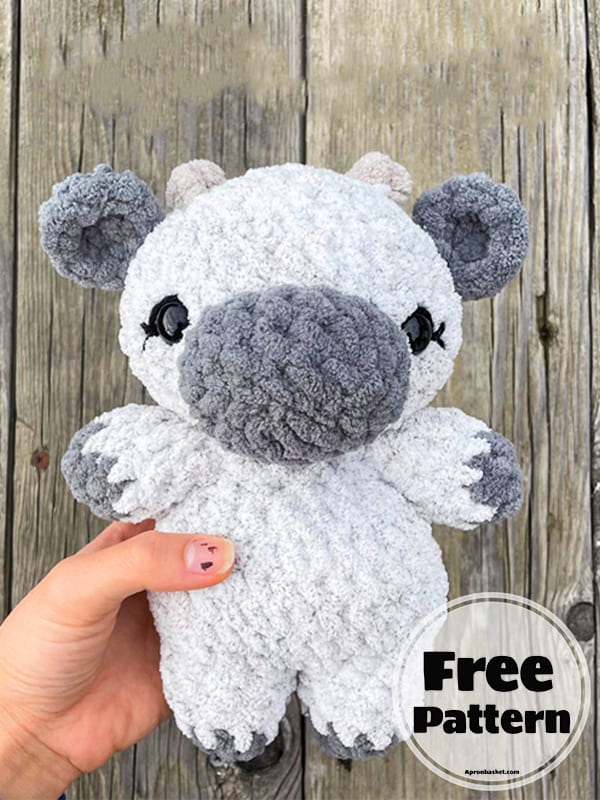
I’m continuing with a super soft textured crochet cow pattern. Introducing the plush free crochet cow pattern amigurumi toy. I would like to thank the owner of the pattern for this cute free amigurumi pattern cow. The cow’s legs, body and head consist of a single piece. The remaining parts are further processed and fixed. It will be easier to handle the cow since most of its parts consist of a single piece. The purpose of using plush yarn is to obtain soft texture and create a larger cow. You can choose different threads if you wish. There will be changes in size accordingly. Now let’s crochet this cute crochet cow together.
Super Soft Free Crochet Cow Pattern
Designer: stitchin_belle
MATERIALS:
• Main body color yarn (Bernat Blanket in Sunday Times)
• Hoof, ear, and muzzle color yarn (Bernat Blanket in Dark Grey)
• Horn color yarn (Bernat Blanket in Pale Grey)
• 6.5mm hook
• 14mm safety eyes
• Black thread or yarn for eyelashes
• Stuffing material
• Stitch markers, scissors, and yarn needle
ABBREVIATIONS
• MR – Magic ring
• SC – Single crochet
• INC – Increase
• DEC – Decrease
• (…)* – Work instructions within brackets as many times as directed
MUZZLE:
Start with muzzle color
Rnd 1: Chain 5 [this is the foundation chain]
Rnd 2: Beginning in second chain from hook, SC in next 3 chains. Then, create 3SC in final chain. Working on the bottom of the chain (not including the one you just worked in), SC in next 2 chains. INC in final chain [10]
Rnd 3: INC, 3SC, 2INC, 3SC, INC [14]
Rnd 4: INC, 5SC, 2INC, 5SC, INC [18]
Rnd 5: 18SC [18]
Fasten off leaving long tail for sewing.
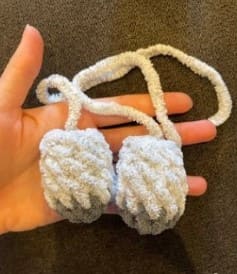
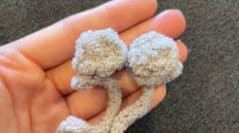
ARMS (MAKE 2):
Start with hoof color
Rnd 1: 5SC in MR [5]
Rnd 2: 5INC [10]
Change to body color.
Rnd 3-5 (3 rows): 10SC [10]
Rnd 6: (SC, DEC) x 3, SC [7]
Stuff lightly or omit stuffing.
Fasten off leaving long tail for sewing.
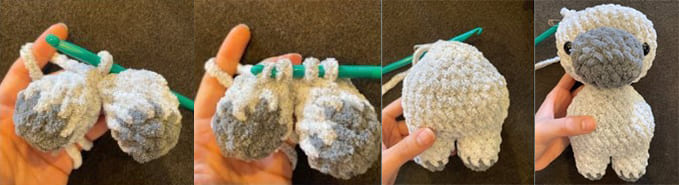
LEGS TO BODY TO HEAD:
Start with hoof color
Rnd 1: 5SC in MR [5]
Rnd 2: 5INC [10]
Change to body color
Rnd 3-5 (3 rows): 10SC [10]
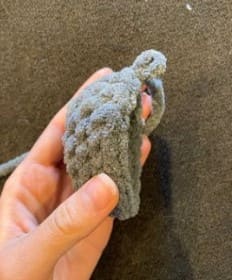
For the first leg, fasten off leaving a short tail. Repeat instructions for the second leg and do not fasten off. Rnd 6: Attach the two legs together by SC into the first leg. This will be your first stitch of the body. Then, SC around. [20]
Note: When you reach the other side of the body and are making the second joining SC, insert hook into the corners of the join and pull up a loop. I had 4 loops on my hook that I pulled through. This will help prevent a hole from forming at the bottom.
Rnd 7: (SC, INC) x 10 [30]
Rnd 8-11 (4 rows): 30SC [30]
Rnd 12: (SC, DEC) x 10 [20]
Rnd 13: (2SC, DEC) x 5 [15]
Rnd 14: 15SC [15]
Begin stuffing until finished.
Rnd 15: (SC, DEC) x5 [10]
Rnd 16: FLO 10INC [20]
Rnd 17: (SC, INC) x10 [30]
Rnd 18-23 (6 rows): 30SC [30]
Rnd 24: (SC, DEC) x10 [20]
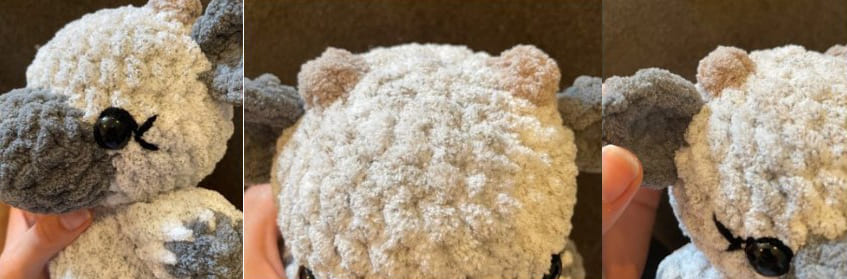
Sew muzzle on between rows 17 and 21, stuffing as you sew. Then add eyes between row 20 and 21, on each side of the muzzle.
Rnd 25: 20SC [20]
Rnd 26: 10DEC [10]
Rnd 27: 5DEC [5]
Finish stuffing, fasten off, and sew hole closed.
HORNS (MAKE 2):
Start with horn color.
Rnd 1: 5SC in MR [5]
Slip stitch into first SC and fasten off leaving long tail for sewing.
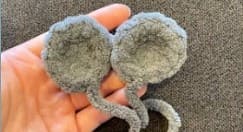
EARS (MAKE 2):
Start with ear color.
Rnd 1: 6SC in MR [6]
Rnd 2: 6INC [12]
Fasten off leaving long tail for sewing.
ASSEMBLY:
• Sew horns between row 24 and 26, focusing the middle on row 25. Sew with 7 visible stitches between them on row 25.
• Sew ears 1 row below each horn, between row 22 and 23
• Sew arms flat between row 15 and 14 or at junction between body and head. Tack down the middle of the arm to the body with a single stitch
• Embroider eyelashes above the eye and to the side
• Optional: Add blush below the eyes


admin
Recommended To You